Building on Nexus: A Developer's Starting Point
NexusEVM is a fully EVM-compatible L1. If you've deployed on Ethereum or any EVM chain, the tools
NexusEVM is a fully EVM-compatible L1. If you've deployed on Ethereum or any EVM chain, the tools
Introducing NEX, the native digital currency of the Nexus blockchain. Token details * Ticker: NEX * Total Supply: 100 trillion Token distribution

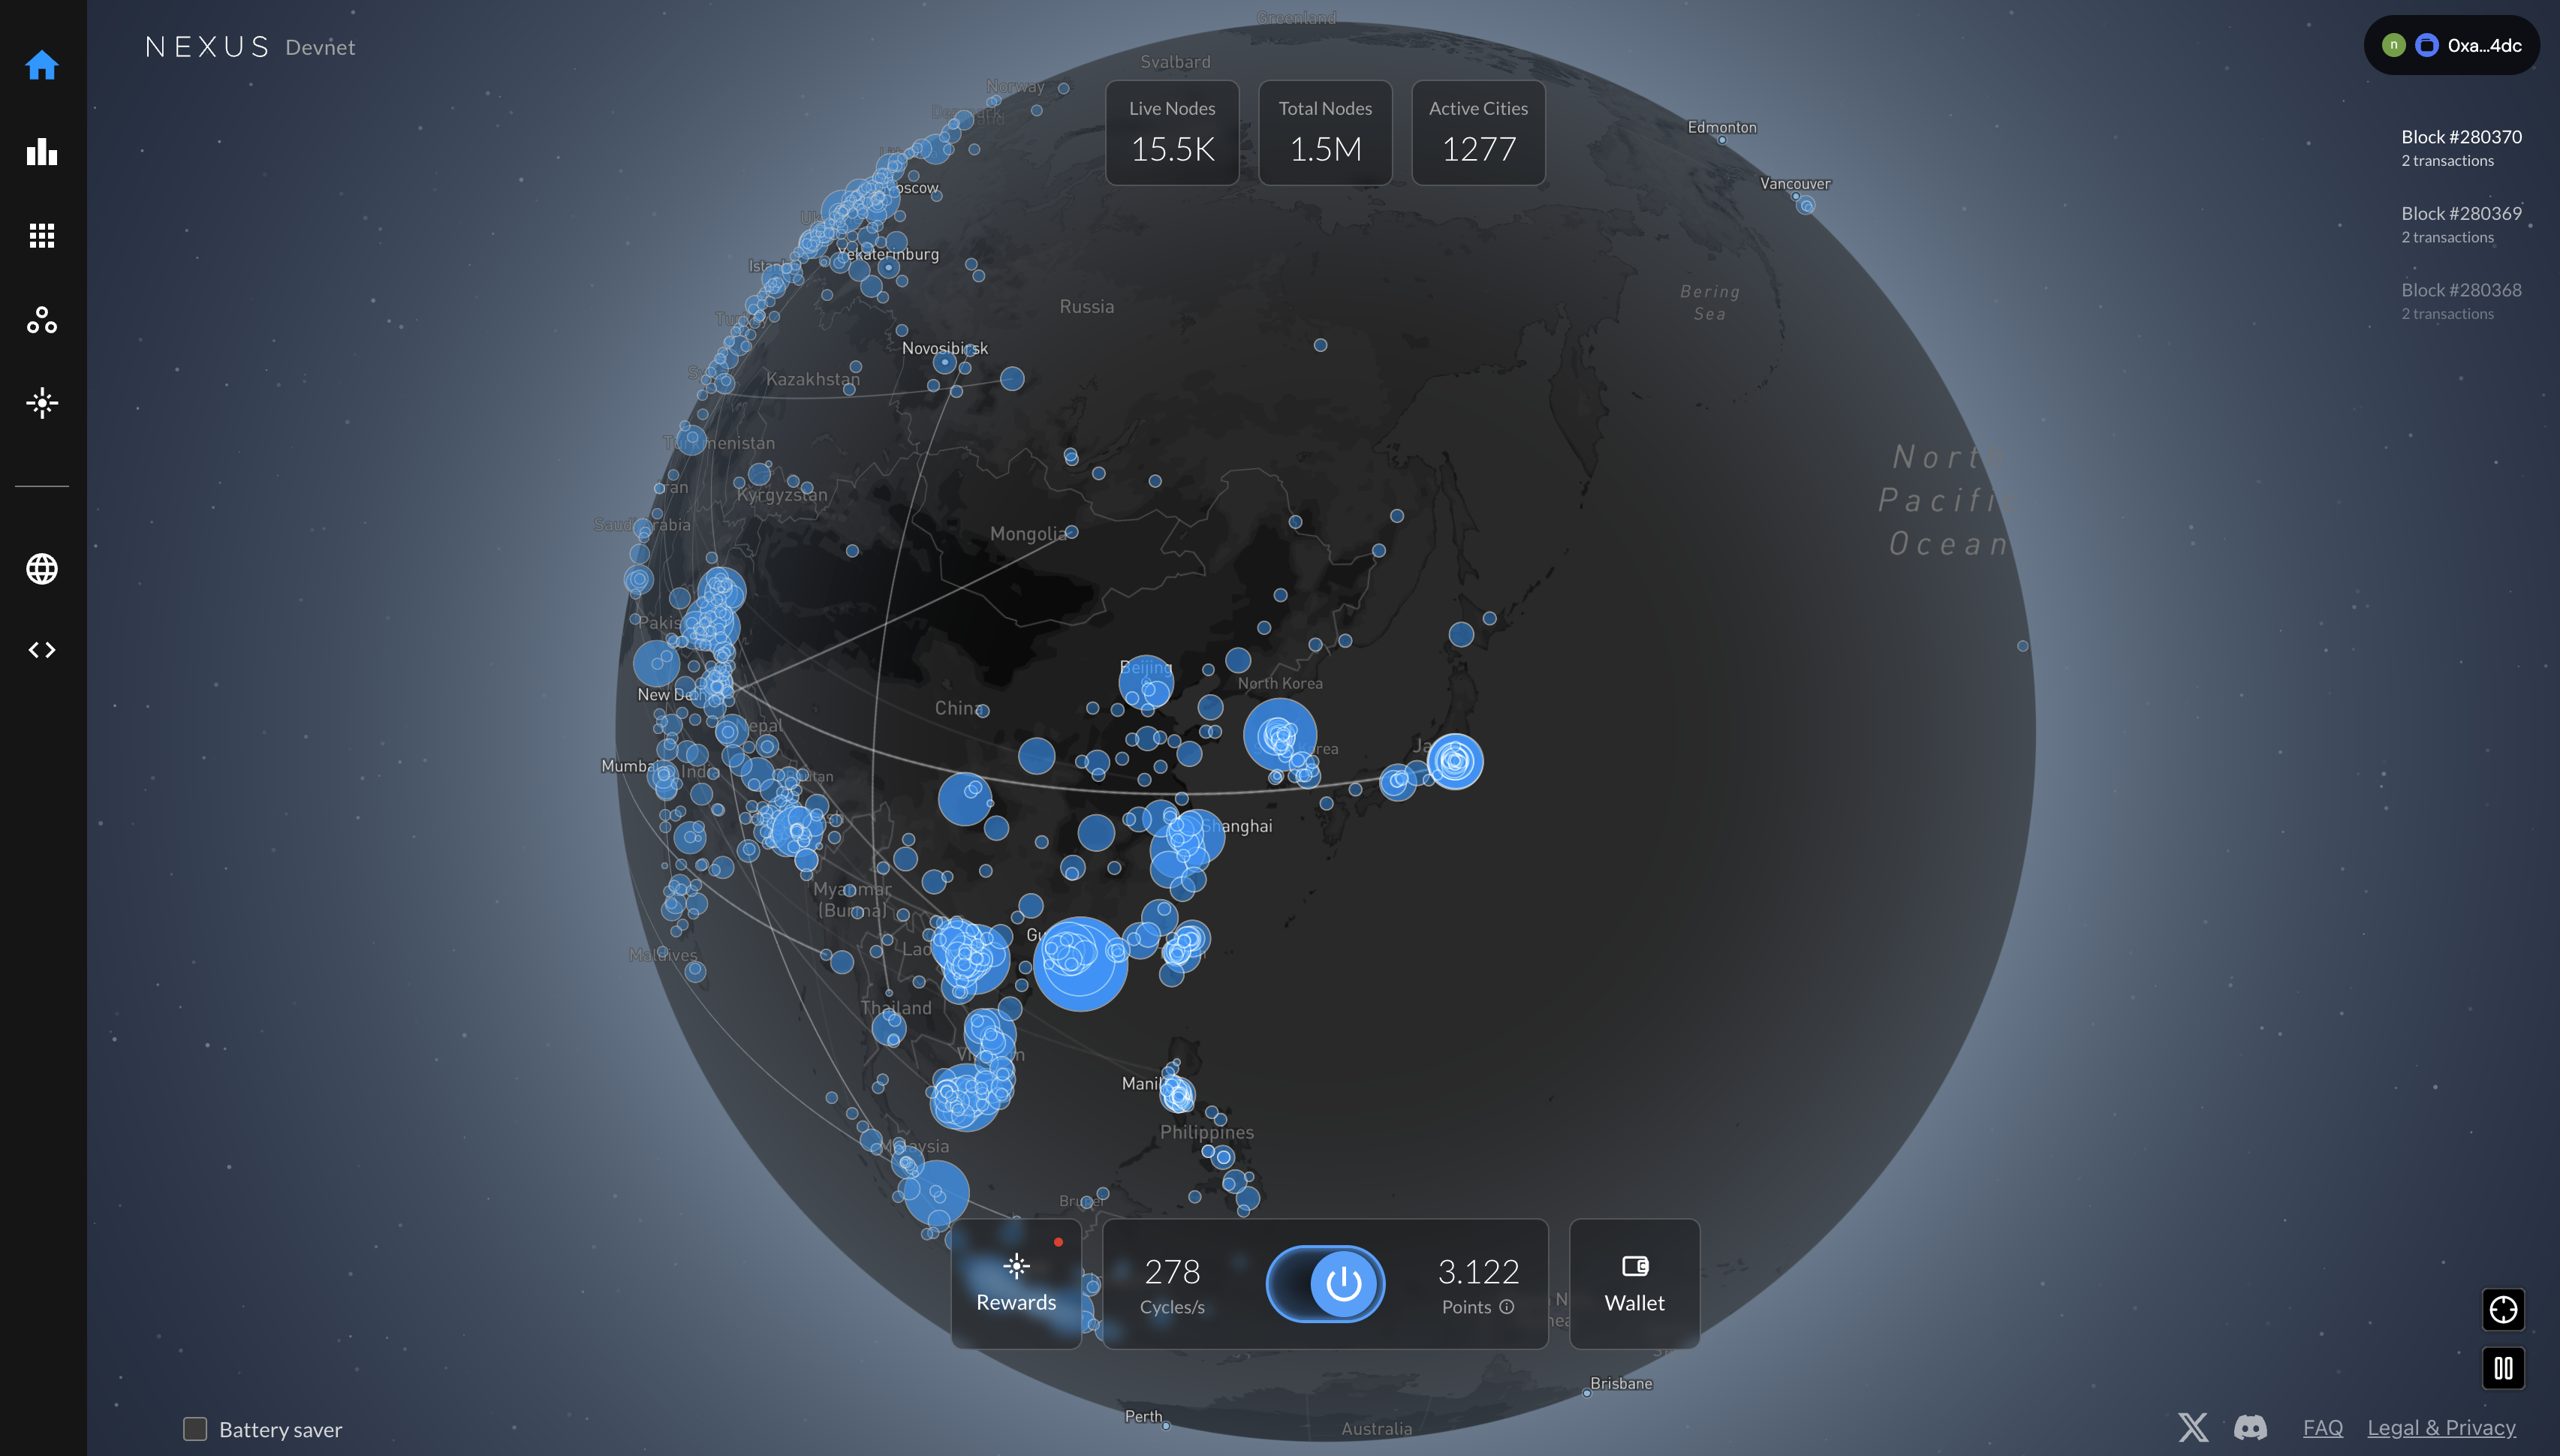
Most people meet Nexus through the browser. With just a few clicks at app.nexus.xyz, anyone can start contributing compute to help build the Verifiable Internet. But under the hood, there’s a more powerful, flexible way to connect: the Nexus CLI.
This guide is your starting point. Whether you’re a developer looking to contribute compute efficiently, or just curious about how the CLI fits into the Nexus ecosystem, you’ll find everything you need here — along with links to deeper guides for bookmarking and reference.
Relatedly, we just launched Proving Quests allowing you to earn points in multiple ways (including using the Nexus CLI) while contributing compute.
The Nexus CLI (Command Line Interface) is the fastest, most configurable way to participate in the network — especially for contributors who want to:
If you’re comfortable in the terminal (or eager to learn), the CLI turns your machine into a node on the world’s first decentralized proof network. It’s built for power users — but remains approachable, fast, and self-updating.
When you run the CLI, your device connects to the Nexus network and begins generating zero-knowledge proofs. This is what it means to “prove” — your computer completes a verified computation that the network can trust, without revealing any private data.
Each proving task moves through five stages:
This cycle repeats automatically, maximizing your machine’s contribution and efficiency.
Ready to contribute compute? Once you've open a terminal, here’s how to install the CLI and start generating proofs in just a few steps.
On macOS, Linux, or WSL, just run:
curl https://cli.nexus.xyz/ | sh
You’ll be prompted to accept the Terms of Use, and the binary will install automatically.
You can also visit app.nexus.xyz/nodes to easily create and manage nodes.
Or, if you already have a node ID:
nexus-cli start --node-id <your-node-id>
If you don’t yet have a node ID:
nexus-cli register-user --wallet-address <your-wallet-address>
nexus-cli register-node
nexus-cli start
That’s it. You’re proving.
When you prove with the CLI, you’re not just earning points — you’re participating in the future of computing.
Want to earn even more for your contributions? The new Snag questing engine helps you do exactly that.
With Snag, each day you contribute — including CLI proving — becomes part of a transparent, rewarding experience. Complete quests, collect badges, and climb the leaderboard.
The Nexus CLI is your direct line to the world supercomputer. It’s fast, flexible, and rewarding — and it’s just getting started.

NexusEVM is a fully EVM-compatible L1. If you've deployed on Ethereum or any EVM chain, the tools

NexusCore is the architecture designed for high performance and as an engine to power verifiable markets Modern financial systems depend

For years, most onchain trading relied on automated market makers (AMMs). They offered a breakthrough for decentralized finance because they

In most blockchains today, the separation between the protocol and the application layer is clean and intentional. The base chain