Community Report: Verifiably Creative
Nexus is kicking off February with the continued momentum across our global community. Activity throughout the month includes our upcoming

For anyone stepping into the world of crypto or web3, the first thing you’ll need is a wallet.
A crypto wallet is your personal key to accessing, sending, receiving, and storing digital assets like Ethereum or NEX. It acts as a secure portal to the decentralized internet and is used to interact with applications, hold tokens, and verify your identity onchain.
With the Nexus app (app.nexus.xyz), using a wallet becomes simple, intuitive, and visual. This guide walks through exactly how the wallet works inside the app, so you know what to expect and how to use it with confidence.
For more background on wallets, check out this guide:
A crypto wallet doesn’t actually store your tokens in the traditional sense. Instead, it stores your private keys — cryptographic credentials that allow you to access the assets associated with your address on a blockchain.
The Nexus wallet provides a clean, accessible interface for managing this functionality. Within the app, your wallet enables you to view your balance and transaction history, receive assets, send tokens, and sign transactions securely.
These actions are fundamental to interacting with any decentralized protocol or application. Not to mention understanding how to use a wallet makes things like questing or competing on the leaderboard a lot easier and more fun.
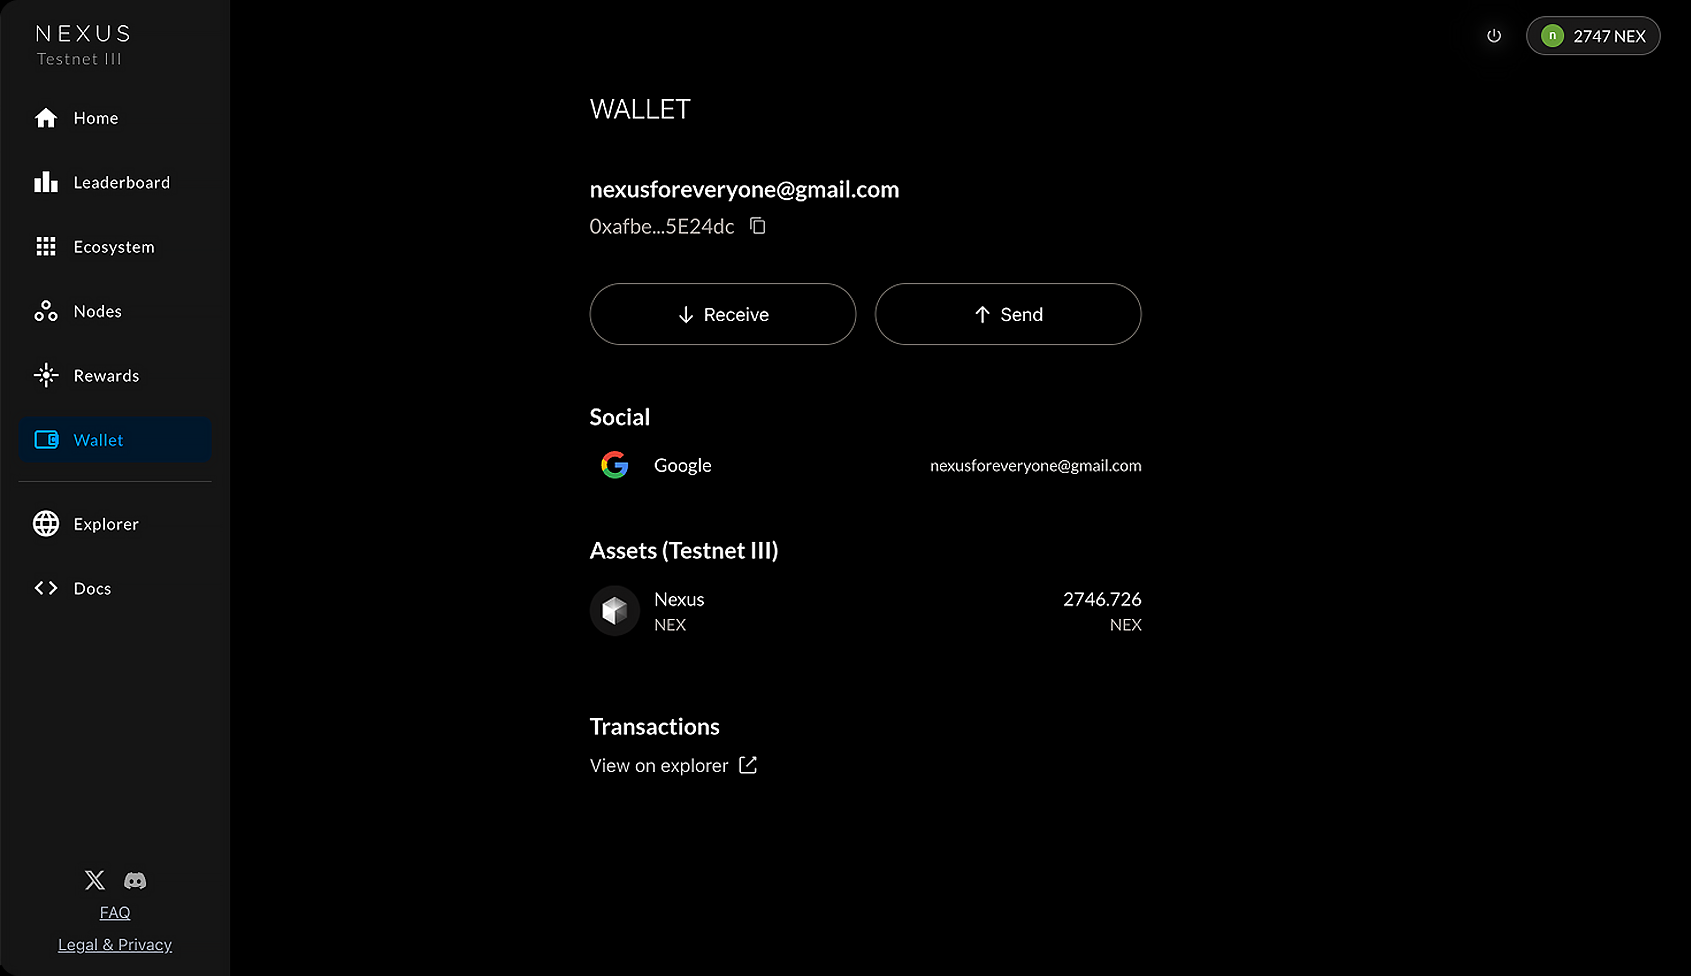
The wallet view within the Nexus app is designed for clarity and focus. When you navigate to “Wallet” in the sidebar, you’ll see an overview of your identity, balances, and recent actions. At the top, your connected email and abbreviated wallet address are displayed. Beneath that, you’ll find quick-access buttons for receiving and sending assets.
The wallet section also shows your active login method (e.g., Google), your token balance (such as NEX on the testnet), and a direct link to view your activity on the blockchain explorer. This screen gives you everything you need to manage your assets and identity from one place.
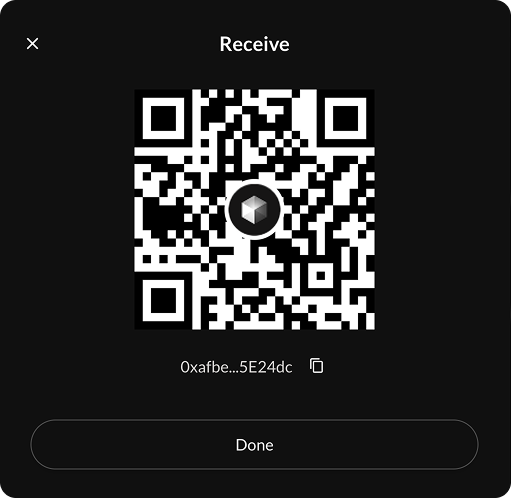
When someone wants to send you cryptocurrency, you’ll need to provide them with your wallet address. This is a long string of characters that uniquely identifies your wallet on the blockchain. Fortunately, Nexus makes this process easy.
Tapping the “Receive” button in the wallet opens a screen with two key elements: a QR code and your full wallet address.
'You can scan the QR code directly if you’re transacting in person, or simply copy the address and send it via text, email, or messaging app. This address remains constant and is safe to reuse as often as needed.
The address shown beneath the QR code in the app (e.g., 0xafbe...5E24dc) is where others can send funds to you. Once the transaction is submitted on their end, you should see incoming activity appear in your wallet and, shortly after, on the Nexus blockchain, which will make it viewable on the explorer, which we cover below.
Sending tokens from your wallet is straightforward. Once you tap “Send,” a modal appears with three simple steps.
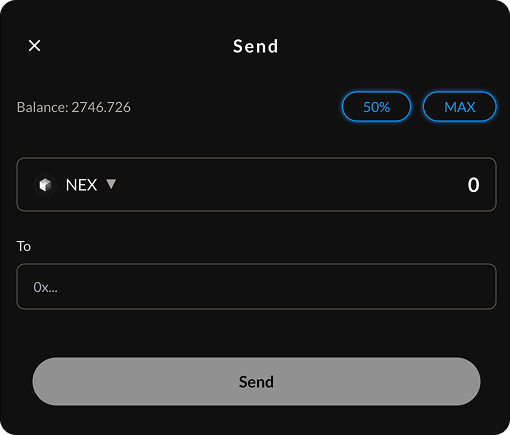
First, enter the amount you wish to send. You can either input a specific number or choose a preset like 50% or Max to automatically fill in part or all of your balance.
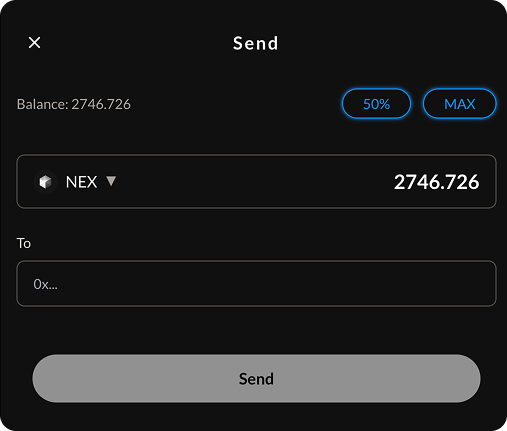
Next, enter the destination address. This is the wallet address of the person or application you’re sending tokens to. Be sure to double-check that the address is correct and that it’s compatible with the network you’re using—in this case, Nexus Testnet III.
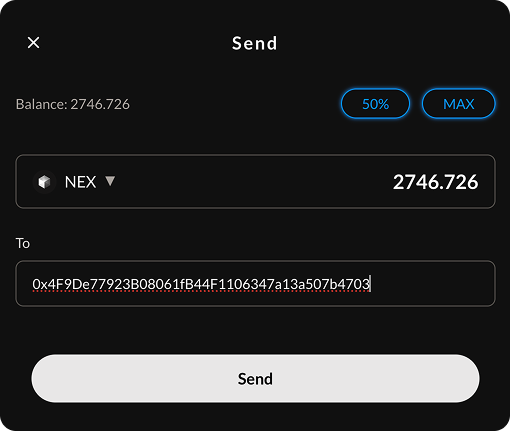
Finally, when both fields are completed, the “Send” button becomes active. Tapping it prepares the transaction for signing.
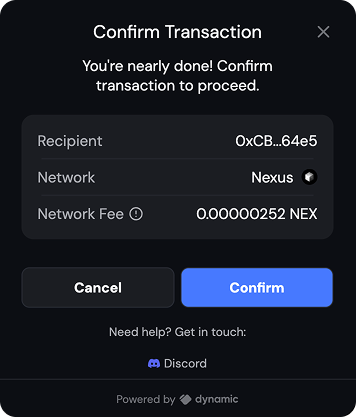
Before a transaction is broadcast to the blockchain, you’ll be prompted to review and confirm it. This is a critical security step. Nexus will show you the recipient address, the selected network, and the estimated network fee in NEX. These fees are typically a fraction of a token—extremely low compared to many other chains.
Once everything looks right, you can tap “Confirm” to sign the transaction. This cryptographic signature ensures that only you can authorize the movement of your funds. The transaction is then submitted to the network.
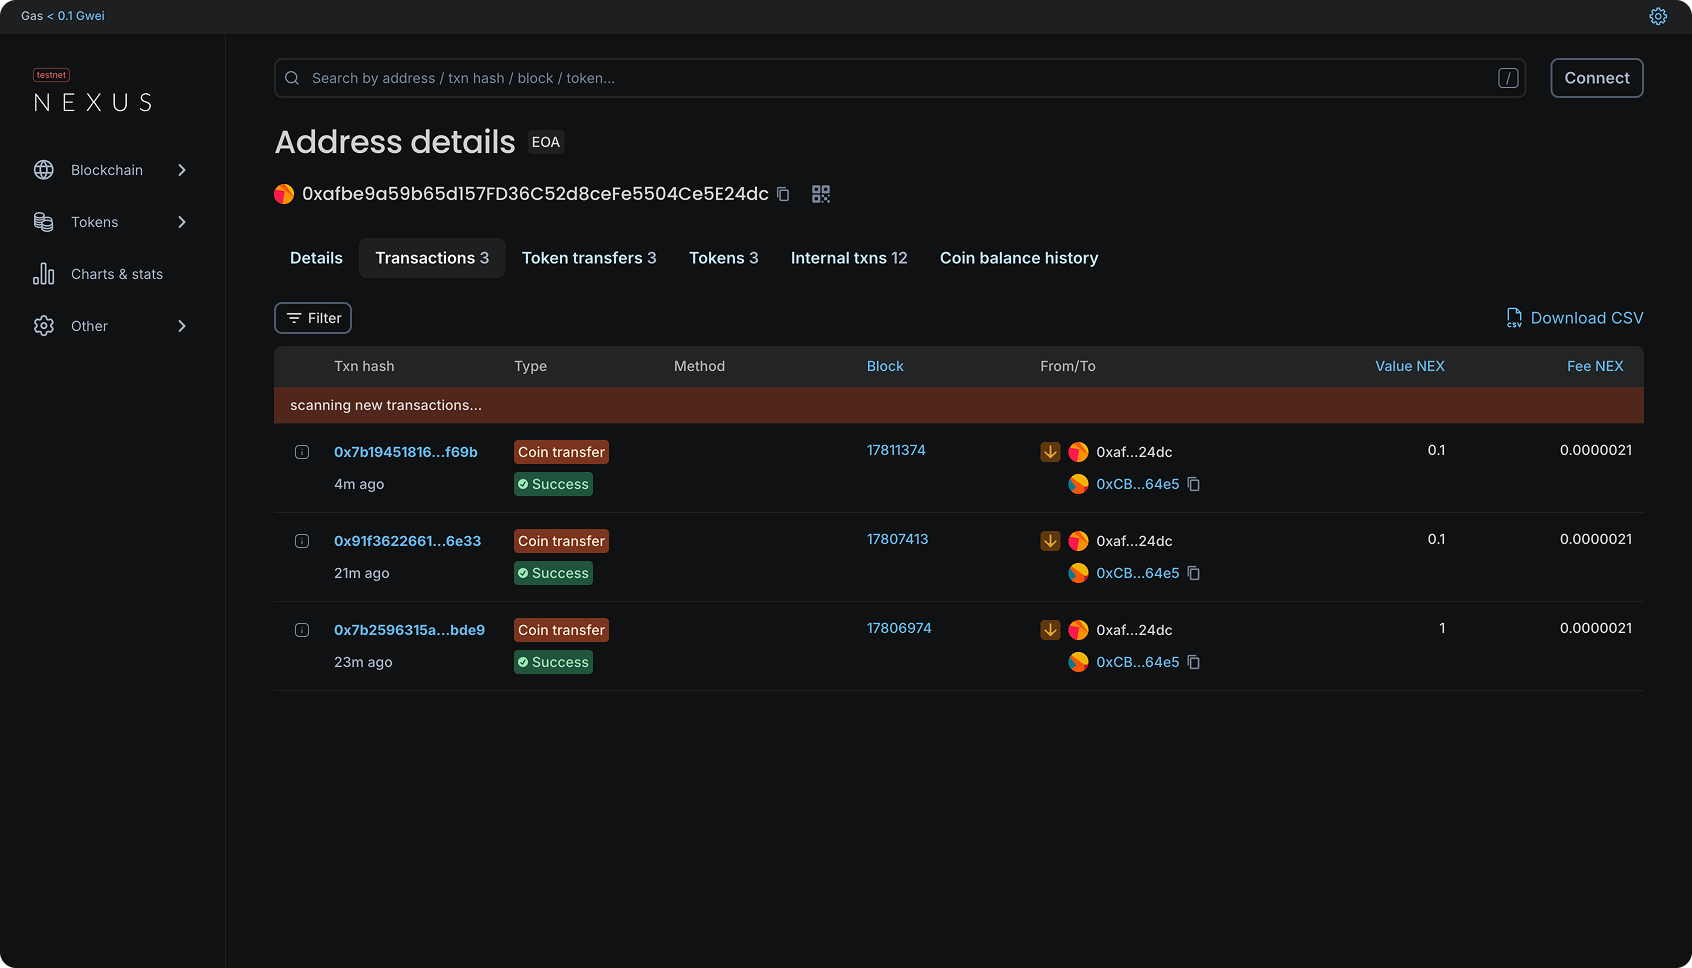
After a transaction is sent, it becomes publicly viewable on the Nexus blockchain explorer. From the wallet screen, you can tap “View on explorer” to see a detailed record of the transaction.
On the explorer, you’ll find the full transaction hash, the block it was included in, the time it was processed, and the status—typically “Success” once confirmed. You’ll also see sender and receiver addresses, the amount transferred, and the fee paid.
This transparency is one of the key strengths of blockchain: every action is verifiable, timestamped, and tamper-proof.
Crypto wallets can feel complex—filled with long addresses, gas fees, and cryptographic signatures. But through Nexus, we’ve designed the wallet experience to be visual, intuitive, and grounded in clarity.
Whether you’re sending your first tokens or exploring how verifiable applications work, the Nexus wallet is built to guide you every step of the way—with transparency you can trust and simplicity you can use.
If you haven’t already, try it for yourself: app.nexus.xyz